A detailed checklist every Mumbai homeowner should use after AC installation — from drainage pipes to voltage check — to ensure long-term performance and safety.
Getting a new air conditioner installed is exciting — but a poorly executed installation can lead to inefficiency, drainage problems, noise, and even safety hazards. Before you let the installation technician leave, run through this essential 10-point checklist.
1. Drainage Pipe Slope and Outlet
The condensate drainage pipe must slope continuously downward — at least 1 inch drop per 12 inches of horizontal run. It must terminate where the water will not cause damage or create a nuisance. Ask the technician to demonstrate that water drains freely by pouring a small amount into the indoor unit's drainage tray.
2. Copper Pipe Insulation
The copper pipes connecting indoor and outdoor units must be fully insulated with foam lagging. Uninsulated pipes will sweat and drip water in Mumbai's humid conditions, potentially damaging walls and ceilings.
3. Wall Penetration Sealed
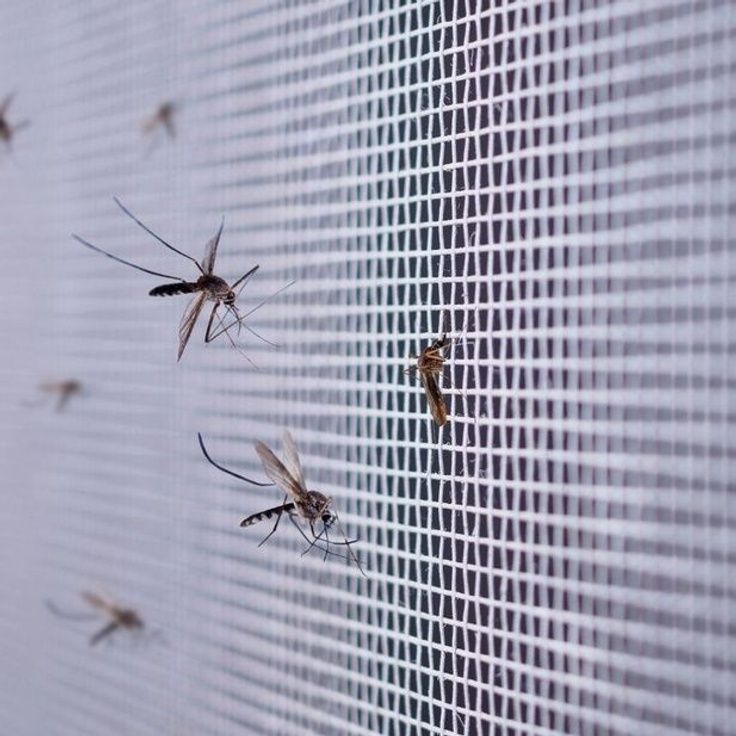
The hole where pipes and cables pass through the wall should be sealed with weatherproof putty or silicone on both sides. Gaps allow insects to enter and cause water ingress during monsoon.
4. Outdoor Unit Placement and Clearance
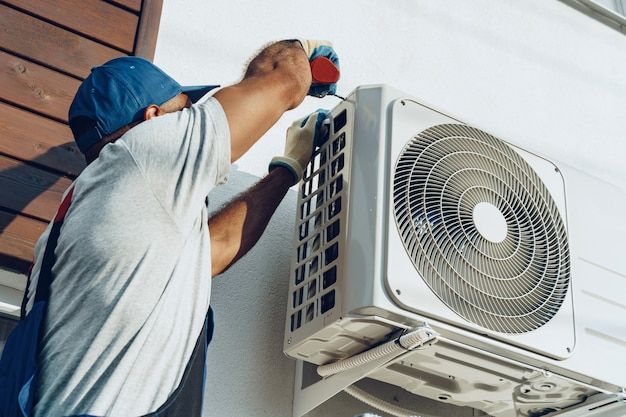
The outdoor unit needs a minimum of 30–50cm clearance on all sides for adequate airflow. It must be mounted level, secured with anti-vibration pads, and positioned away from direct sunlight where possible.
5. Electrical Cable Rating
The power cable connecting to the AC must be of the correct rating — typically 2.5mm² for a 1.5-ton unit. Do not let technicians use undersized cables to cut costs. Ask to see the cable specification.
6. Voltage at the Point of Installation
Have the technician measure the actual voltage at the socket. Mumbai's supply can fluctuate significantly. If voltage drops below 200V regularly, a voltage stabilizer is advisable even with modern inverter ACs.
7. MCB / Circuit Breaker for the AC
The AC must be on a dedicated MCB (Miniature Circuit Breaker) of the correct rating. Sharing a circuit with other appliances risks tripping and potentially starting a fire.
8. Gas Pressure Check
For new installations, the technician should verify that refrigerant gas pressure is within the manufacturer's specified range. This is done with pressure gauges. If it is not checked and documented, there is no baseline for future service.
9. First Run Test
The technician should run the AC in cooling mode for at least 15–20 minutes before leaving. During this test: check that cool air is flowing adequately, listen for unusual vibrations or noises, and verify the outdoor unit is not vibrating excessively.
10. Documentation
Request the installation report, model details, and technician's contact number in writing. A professional installation company will provide a job card with all details. This is your record if problems arise later.
SR Grand Enterprises follows all of these steps on every AC installation. Our technicians are trained, and our work is inspected by a senior supervisor before sign-off. Call us for a free assessment of your AC installation needs.